Overview
Manage all your business phone numbers in one place. Whether you need local numbers for different markets, toll-free numbers for customer support, or simply want to organize multiple lines for your growing team, you have complete control over your phone number setup.Types of phone numbers available
Local numbers
- US numbers: Available in every state except Alaska
- Canadian numbers: Available across all provinces
- Puerto Rico: Not available for new numbers, but existing numbers can be ported
Toll-free numbers
North American toll-free numbers with these prefixes:- 800, 833, 844, 855, 866, 877, 888
- All toll-free numbers are text-enabled
- No charge to callers from US and Canada
International numbers
Currently, we only offer US and Canadian numbers. If you need numbers from other countries, please fill out this form to help us prioritize future offerings.Adding phone numbers
You can have unlimited phone numbers on your account. Here’s how to add more:- Web/Desktop
- Mobile
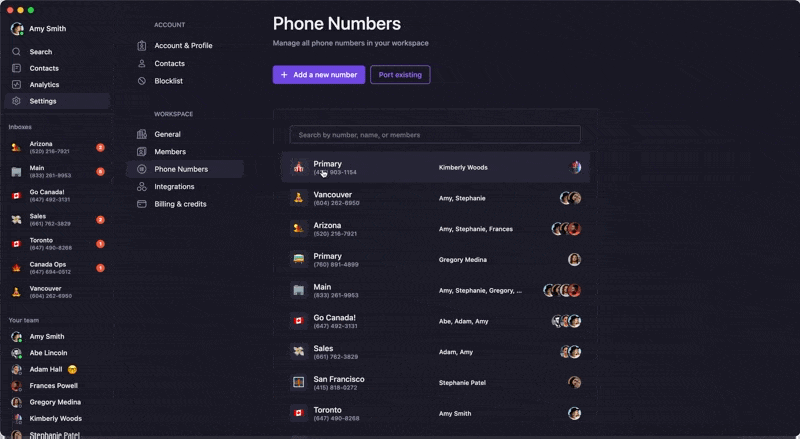
- Go to Settings → Phone Numbers
- Click + Add a new number
- Search by:
- City name
- Area code
- Toll-free option
- Select your number
If you’re paying through Apple or Google Play, you’ll need to switch to credit card payments to add additional numbers. Contact support for assistance.
Naming and organizing numbers
Keep your growing number collection organized by adding custom names and emojis to each phone number.Setting names and emojis
- Web/Desktop
- Mobile
- Open Settings from the left menu
- Under “Workspace”, click Phone Numbers
- Select the number to name or rename
- In the “General” section:
- Type your preferred name
- Add an emoji to the left of “Name”
- Click the checkmark to save
How names and emojis appear
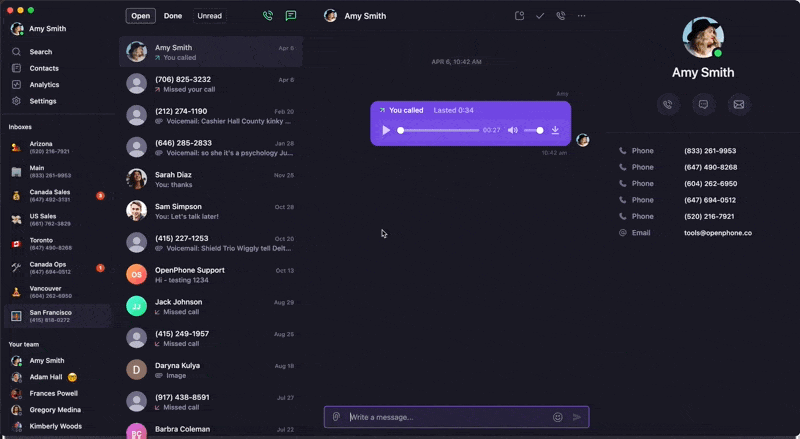
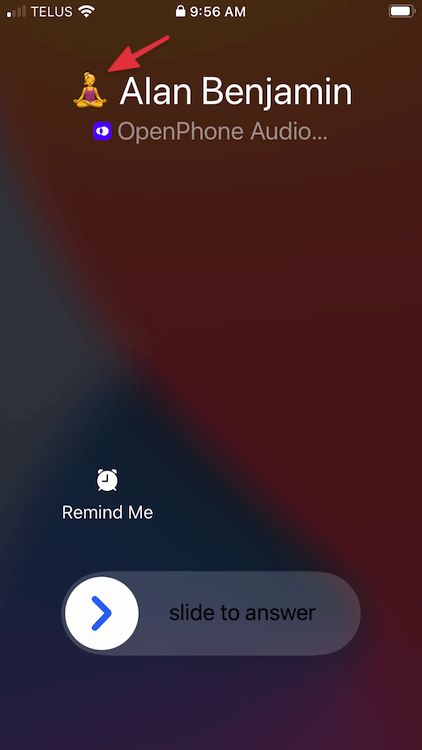
Your custom names and emojis help identify incoming calls: On web/desktop: Both the name and emoji appear with incoming calls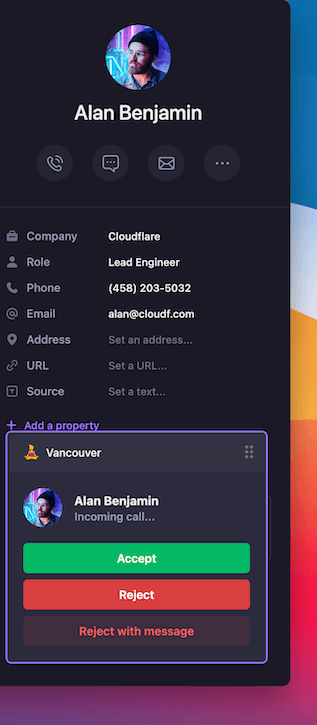
Changing phone numbers
If you need to change your phone number, you can delete the current one and add a new one.Steps to change numbers
- Go to Settings in web/desktop (not available on mobile)
- For team numbers: Admins/owners should go to Phone Numbers
- Click the phone number to remove
- Scroll to “Danger Zone” and click Delete phone number
- Type “delete” to confirm
- Refresh the app to select a new number
Deleting phone numbers
Remove phone numbers you no longer need from your account.Requirements
- You must be an admin or owner to delete shared team numbers
- Deletion must be done from web or desktop app
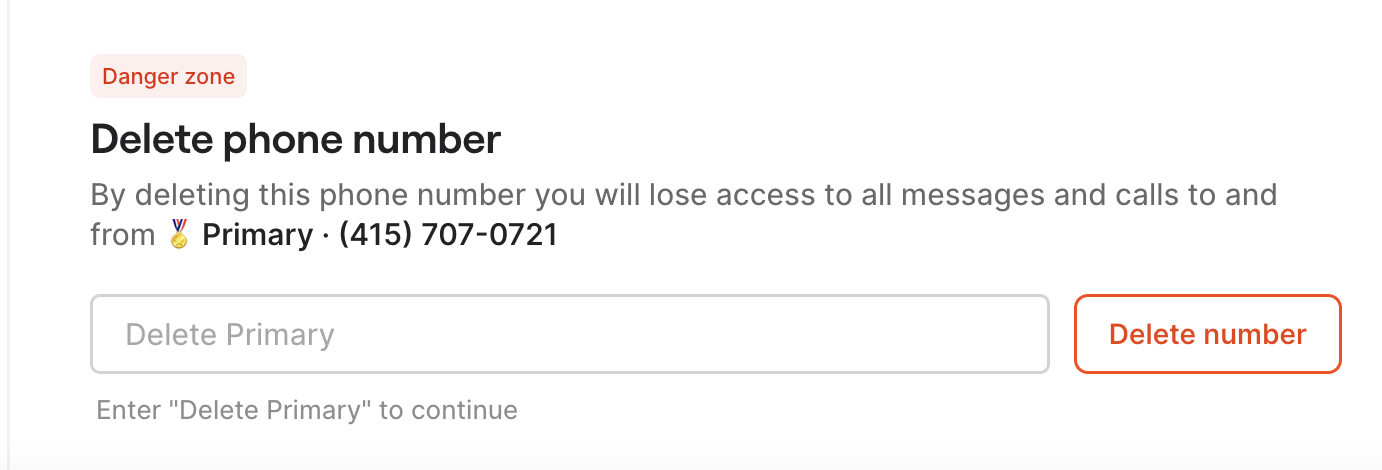
Deletion process
- Go to Phone Numbers in workspace settings
- Click the number you want to remove
- Scroll to “Danger Zone”
- Click Delete [phone number name]
- Type “Delete [phone number name]” to confirm
Deleting a phone number doesn’t cancel your subscription. It only removes that specific number and adjusts your billing automatically.
Choosing between local and toll-free
Choose local numbers when:- Establishing presence in a specific area
- Making many outbound calls (perceived as more trustworthy)
- Serving primarily local customers
- Customer support is your main use case
- You want to appear larger and more established
- Serving customers nationwide
- You don’t want callers to pay long-distance charges
Vanity numbers
While we can’t guarantee specific vanity numbers like 1-800-FLOWERS, you can:- Search for numbers with specific digit sequences
- Look for patterns that match your business (e.g., “DOGS” = 3647)
- Use Number Barn to find vanity numbers and port them to Quo, formerly OpenPhone
FAQs
Can I have more than one phone number?
Can I have more than one phone number?
Yes! There’s no limit to how many phone numbers you can have on your account. Add as many as your business needs.
What happens to my data when I delete a number?
What happens to my data when I delete a number?
When you delete a phone number, you permanently lose access to all messages and calls associated with that number. Make sure to export any important data before deletion.
Can I get phone numbers from other countries?
Can I get phone numbers from other countries?
Currently, we only offer US and Canadian numbers, plus North American toll-free numbers. We cannot provide new Puerto Rican numbers, but you can port existing ones.
Do toll-free numbers support all messaging features?
Do toll-free numbers support all messaging features?
Toll-free numbers support sending and receiving SMS, MMS (pictures), videos, GIFs, files, and reactions. However, they don’t currently support group messaging.